free web tracker

Playing around with a stock 18-55 and a Sigma 70-300 ...
Now, with an SMC Takumar 105 and a CZJ Flektogon 35 too ...

Wednesday, December 30, 2009

135mm Retina lenses: Schneider vs Voigtlander

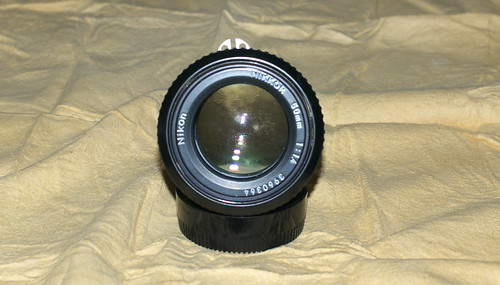
Among the Deckel-mount lenses available today, the most common are certainly the Schneider Tele-Xenar 135 f/4, originally for the Kodak Retina Reflex, and the Voigtlander Super-Dynarex 135 f/4, for the Bessamatic/Ultramatic SLR series.

Voigtlander vs Schneider - IMGP1862

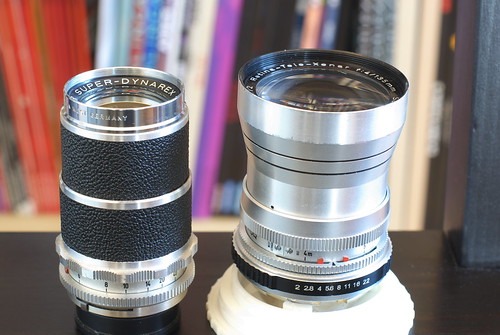
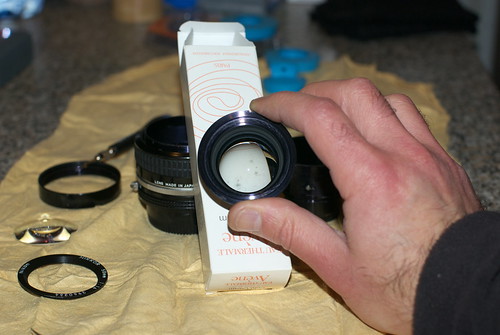
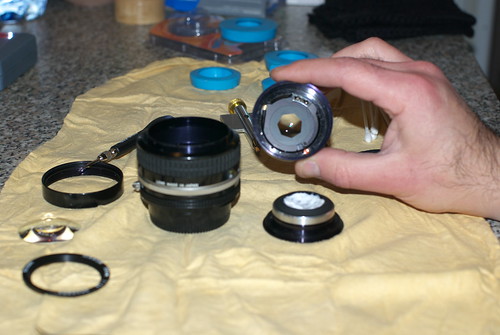
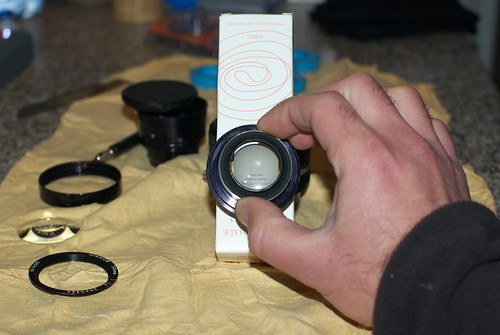
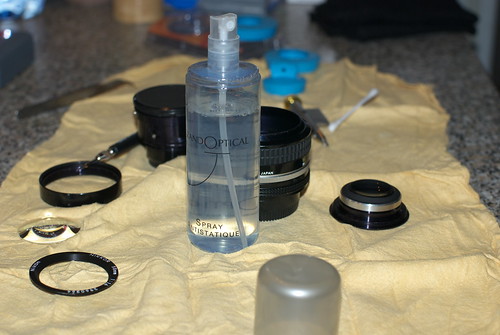
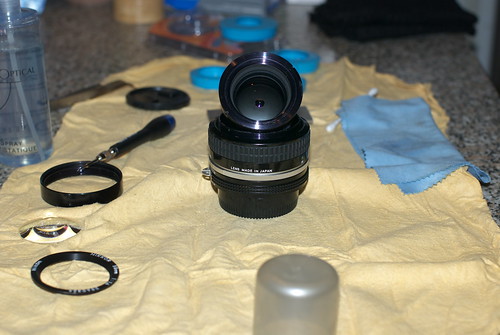
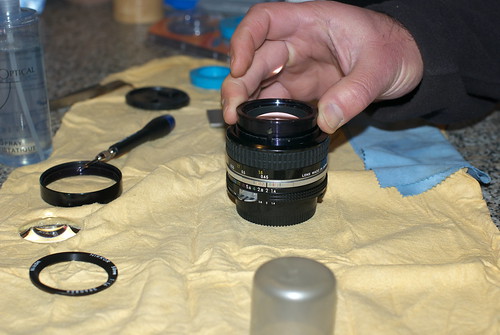
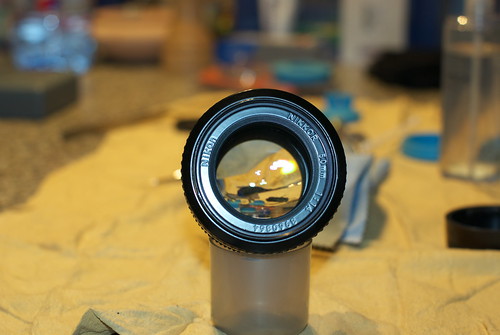
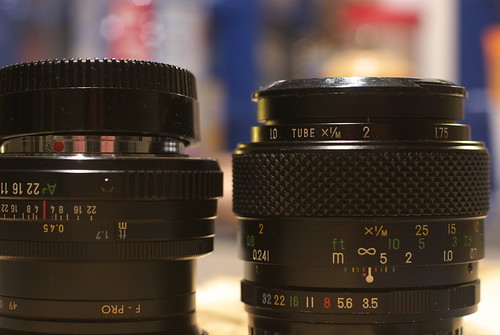
Both lenses are made of full metal and glass, the Schneider shining with a nice chrome finish, while the Voitlander shows a more discrete leatherette collar.
Despite the fact that they are almost the same age, their optical scheme is different: the Xenar is a 5 elements in 4 groups, while the Super-Dynarex is a 4 elements in 3 groups. Both are coated lenses and share a shortest focusing distance of about 4 meters or 13 feet, a bit too far when compared to other 135mm lenses of the same age. And both have a fastest f/stop of f/4, most probably because of limitations in the lens mount (a faster lens requires a larger rear optical group).

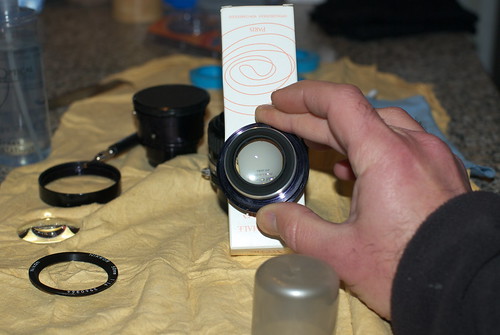
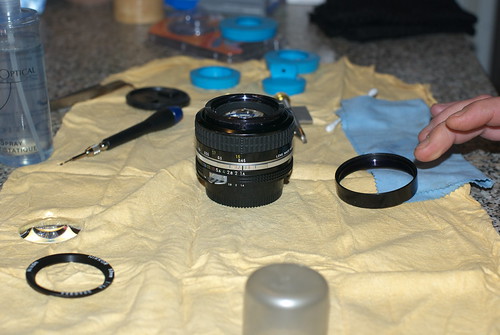
While sharing the same Deckel mount, the two lenses were not really supposed to be compatible: both Kodak and Voigtlander customized their lens mount with a tab-and-notch system, just to prevent owners from using Retina lenses on Bessamatic cameras and vice-versa.

Nevertheless, the Deckel-M42 adapter i got from Alex from MFLenses forum apparently solved the compatibility issue: both lenses are correctly stopping down, with clicks every half a diaphragm, although the values don't match the scale on the ring (wide open the ring reports f/5.6 instead of f/4 and, on the other side, f/22 is beyond the f/22 on the ring, but this is not really an issue, IMHO).

Having (finally) a bit free time and both lenses available, i decided to make a series of comparative shots.

At first, please forgive the choice of the subject: due to the lack of a garden/courtyard (and to the outside temperature, not really summer-style), i had to cope with my flat and with the limitations imposed by the shortest focusing distance of both lenses. In the test shots, the focus has been set on the snake in the middle, while the egg and the amethyst are used to force some areas with high contrast, to show some chromatic aberration (yes, there is some, as shown in the pictures).

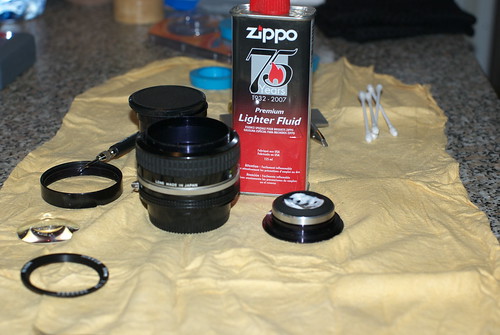
The sample shots are 100% crops from the full size images, developed by Silkypix with the default settings without post-processing, except EV adjust. The camera has been triggered using a remote release cable, with a 2s delay between the mirror up and the shot, and without shake reduction.

I have made my choice between the two lenses but, since i'm not a professional photographer and i'm not claiming to be a reference, your choice it's up to you: feel free to browse the whole series of sample pictures on my Flickr photostream and to download the full size images, to judge by yourself about sharpness, contrast and CA.
Then, if you want, you are welcome to leave some feedback about these two old Germans ...

If you are interested in reading more about these lenses (and a lot of other useful things related to photography), here are some links:
Voigtlander lenses: Taunusreiter site
Schneider lenses: Cameraquest site
Retina-Bessamatic compatibility: Rick Oleson site.

The Deckel adapter comes from MFLenses, you can contact Alex (hk300) or Attila for informations.

Now going to prepare the next year ;-) ...

Labels: , ,

Thursday, December 17, 2009

Cleaning from fungus: Nikkor 50 f/1.4 ...

... whether Ai, NAi or Pre-Ai, i don't have any clue (sorry Nikon shooters) ...
Nevertheless, a really nice lens to let the evil fungus there ...

As usual, the standard foreword: it worked for me, it doesn't mean that it will work for you. In other words, whether you decide to repair your lens by yourself, or to let a pro do the job, it's up to you:
I have no responsibility if you destroy your lens.

Now, let's the game begin ...

As you can see in the picture below, it is clearly infected by a fungus,
on the element rear the frontal one (we'll see that later) ...

Nikkor 50 1.4 Fix - IMGP1570


Having some spare time, i prepared the "shock team" for action:
A sink cap
A small screwdriver
A pro-grade spanner wrench (thanks again, Alex)
Some cold cream
Some Q-tips
Zippo fluid
Lens cleaning fluid
A micro-fiber cloth

Now, let's the game begin ...

Using the sink cap, unscrew the front name ring ...

Nikkor 50 1.4 Fix - IMGP1572

... and gently remove the front element.

Nikkor 50 1.4 Fix - IMGP1573

Now, remove the filter support by unscrewing the small screw shown below (you must focus the lens to its shortest distance to see it) ...

Nikkor 50 1.4 Fix - IMGP1577

Once the screw removed, unscrew the filter support ring to remove it ...

Nikkor 50 1.4 Fix - IMGP1579

Now you will notice two notches for a spanner wrench.
DO NOT TRY TO UNSCREW THE RING RIGHT NOW!
Using the spanner wrench, very very gently shake the cell ...

Nikkor 50 1.4 Fix - IMGP1580

... then, simply slip off the optical cell (two fingers will suffice) ...

Nikkor 50 1.4 Fix - IMGP1581

Once the cell removed, unscrew its front element using the spanner wrench ...

Nikkor 50 1.4 Fix - IMGP1584

Nikkor 50 1.4 Fix - IMGP1585

Notice the three spots of fungus molds on the lens ...

Nikkor 50 1.4 Fix - IMGP1586

Now, time to fix this: apply some cold cream on the lens to remove the fungus ...

Nikkor 50 1.4 Fix - IMGP1587

... spread it using a q-tip and let it dry.
In the meantime, take a look at the diaphragm blades, to be sure that they are clean: if you need to clean them, it would be quite easy now ...

Nikkor 50 1.4 Fix - IMGP1589

Let the cream destroy the molds during about an hour, then get the super cleaner (Zippo fluid) ...

Nikkor 50 1.4 Fix - IMGP1590

... drop a few fluid on several q-tips and remove the cream from the lens. Notice that the three spots are no longer there ...

Nikkor 50 1.4 Fix - IMGP1591

Using some optical cleaning fluid, remove the traces left by the Zippo fluid on the lens ...

Nikkor 50 1.4 Fix - IMGP1592

Notice that there is no more haze on the lens ...

Nikkor 50 1.4 Fix - IMGP1593

Time to rebuild the lens: screw in the front element in its cell ...

Nikkor 50 1.4 Fix - IMGP1594

... gently slip in the cell in the focusing barrel (note the align screw on the side of the optical group) ...

Nikkor 50 1.4 Fix - IMGP1595

... until it completely fits in the barrel ...

Nikkor 50 1.4 Fix - IMGP1596

Finally, clean the front element and put it back on the lens, then screw in the front name ring. That's all ...

Nikkor 50 1.4 Fix - IMGP1603

Now, some sample shots with the freshly cleaned lens:

At f/8:

Nikkor 50 1.4 Fix - IMGP1608

At f/4:

Nikkor 50 1.4 Fix - IMGP1614


Feel free to browse to the whole Flickr set available here, there are some more pictures, and they have overlaying notes where required.

The Nikkor wishes to say thanks for its new sight to the whole surgery team, to Rick Oleson for his great site endless source of inspiration and help, to the MFlenses team (Alex and Attila) for supplying professional grade lens-repair tools at fair prices, and, of course, my K10D with its FA-43 Limited for the pictures ...

Now, time to go have some phun ;-) ...

Labels: , , ,